Posted on

What is a VIN?

VIN stands for ‘vehicle identification number’ and is a unique code that each vehicle has as a way of identifying it. It is a 17-character code (if the vehicle is from before 1981 it could have between 11-17 characters) that can typically be found on the driver’s side dashboard and/or on the driver’s side door jamb. The VIN allows for tracking of a vehicle’s history and is sometimes seen as the vehicle’s fingerprint or signature. This makes it easy to be able to see what has happened to a vehicle (which can be very helpful for those looking to buy a car). Here is some of the information that is available from a VIN:

  • Number of owners a vehicle has had
  • Liens on the vehicle
  • Vehicle maintenance
  • Title and accident history
  • Odometer readings
  • “Lemon” check

When Were VINs First Used?

VINs were first used by auto manufacturers in 1954, but because no standards were in place at the time, formats and consistency varied between manufacturers. It wasn’t until 1981, when the National Highway Transportation and Safety Administration (NHTSA) put standards in place, that VINs took the shape of the ones we see today. NHTSA required that all vehicles have a 17-character VIN and laid out what each character of the VIN stood for to ensure that every vehicle would have a unique one.

What are the contents of the VIN?

Example VIN Number – 1G1AK58H997000000

First Digit,  1 – Shows where the vehicle was built
Digits 2-3,  G1 – Designates the vehicle manufacturer
Digits 4-8,  AK58H – Denotes vehicle details such as the vehicle’s brand, engine size, and type
Digit 9,  9 – Check  digit which is used to detect invalid VINs
Digit 10, 9 – Shows vehicle year
Digit 11, 7 – Indicates the manufacturing plant that assembled the vehicle
Digits 12-17, 000000 – Displays the serial number of the vehicle

Other VIN facts:

  • The letters I, O, and Q are not used in modern VINs to avoid confusion with numerals 1 and 0
  • There is no fixed standard for how a manufacturer has to use the Serial Number section of the VIN as long as it leads to a unique VIN for each vehicle manufactured
  • In order to use the check-digit validation all of the letters in the code must be transliterated into their appropriate numerical counterparts.
  • Modern VINs are based on ISO 3779 and IS 3780.
Posted on

Why Pictures Help

Let’s say you’re buying a house and need to get it inspected. You talk to two different home inspectors and are trying to decide which one to use. To help with the decision you ask them both to send you a sample report. The first send over their sample and right away you notice how detailed it is. It breaks down each section of the home and has written descriptions for everything you can imagine. After reading over the report you feel pretty confident that you’ll be using this company. Then, the second inspector sends over their sample report. You are again impressed by the level of detail provided and the way everything is organized. But, this report has something the first didn’t. Each defect found in the report includes a picture or two (with arrows and text on them) showing the defect they just described. Not only can you read the detailed descriptions of each problem but you can actually see them. Based on the contents of the report, which inspector would you choose? Which one would be more helpful?

You’re going to choose the one with pictures. Pictures provide a level of detail and clarity that text alone can’t achieve. The same thing applies to vehicle inspections. Taking pictures and including them in your reports makes a difference. Of course, if you’re doing paid 3rd party inspections this can be a great way to separate yourself from other inspection options, but even if you’re simply doing inspections on vehicles for internal purposes pictures are worth including. They can help you track issues and the condition of your vehicles. If a vehicle has a small spot of rust that you’re monitoring, including a picture of it in the report each time you inspect it gives you a way to go back and see how fast it’s growing over time. This can provide valuable information on how high of a priority it is to get it taken care of.

Regardless of what type of vehicle inspections you’re doing pictures have value. If you are trying to show damage a picture with a quick description is so much clearer than a note by itself will ever be.

Let’s look at an example
‘There is a dent in the driver side door’.
OK? How big is the dent? Where is the dent? Let’s get more descriptive:
‘There is a large dent at the bottom of the driver side door’.
That’s certainly better, but when you read a statement like that, the first thing you want to be able to do is to see the dent. You instantly try to figure out what ‘large’ means. It’s at the bottom of the driver-side door, but where exactly at the bottom? How big of an issue is this?

Having a picture alongside a brief description gives the person reading the report the information they need to get an accurate ‘picture’ of what is going on with the vehicle.

Advantages of Pictures
• Show details in a way that words can’t describe
• Make it easier to communicate the condition
• Better looking reports
• People want to see pictures

Posted on

Importance of Using the Right Inspection Form

When doing inspections it’s important to have the right form. This allows you to be efficient and makes it easier for those who will be seeing the report to get the information they need. The two common ways that some inspectors have the wrong form are: (1) The form doesn’t include the information they need it to or (2) The form includes too much information. Let’s look at the challenges with each.

Not Enough/Right Info
Using a form that doesn’t include the information you need is challenging. This can force inspectors to put information in areas that aren’t natural which makes it harder to follow for those who review it. It also takes longer because you have to spend more time thinking about where to put what and this ends up being energy/time not well spent. Consistency suffers as well because on one report you may decide to put something in one section but the next time you come across the same thing you may put it somewhere else. Of course, the biggest danger here is that something gets missed. If items that should be inspected aren’t on the form then there is always the danger of it getting missed or forgotten. Now, this doesn’t necessarily mean the item wasn’t inspected (although this is very possible), it may just mean that it’s not documented that it was inspected.

Too Much Info
Having too much information in a form can be confusing and a time waster. Skipping over items because they aren’t relevant, or crossing them out takes time. If you skip over them then it also makes it more likely that you miss something that shouldn’t be skipped. If you finish the inspection with the form only partially filled out, it makes it much harder to do a quick scan and find something that you missed that you shouldn’t have. It’s also confusing for those who read the report because it can make it seem like you missed something even though it’s only blank because it’s not part of the inspection.

Using a form that is set up specifically for the type of inspection you are doing eliminates the issues mentioned above. Here is a quick breakdown of the improvements you can expect:

Save time

  • Less time was spent navigating the form and finding where everything is at
  • Less time marking stuff as not applicable or crossing it out
  • Less time was spent explaining to people why certain items were left empty

Less confusion by people who are reading it

  • Having irrelevant questions/items on a form causes confusion
  • Leaving a section empty leads people to wonder ‘why’ it was empty
  • If the same people are seeing it time and time again they’ll know what to expect and know how to read/understand it

Better consistency

  • More consistent reports/results
  • Less likely to miss something since you have exactly what you need on the form
Posted on

What Device Should I Use?

If you’re not sure what device to use with InspectARide that’s okay! It seems like there are a million different options and you want to make sure you get the one that will work best for you. The bad news is that there isn’t one device that is ‘best’, but the good news is there are a lot of good options. Below are some things to consider when deciding what device might be best for you:

1. One of the first things to decide is whether to use an iOS (iPhone/iPad) or Android device. This comes down to personal preference and is usually based on what they have experience using. From a big-picture standpoint, both iOS and Android work great and you won’t go wrong with either.

2. Next, decide what size device you want to use. What’s best may depend on the type of vehicle inspections you’re doing and the environment you’re in. Having something extremely portable that slips in your pocket may be a priority. If that’s the case then a phone makes the most sense. If you want something larger so that you can easily review the information with another person, then maybe a tablet would work best.

3. Getting a newer device costs more but is usually worth it. You don’t always have to have the latest and greatest model, but once you start to get a few models behind, you won’t get the speed and battery performance that you would with a newer model. For example, if you put an iPhone 7 side by side with an iPhone 11 the speed difference is huge. Having an older device that is a little slower on each inspection you do adds up over time and in the long, you’ll be better off upgrading devices.

Posted on

Portal Update Almost Ready

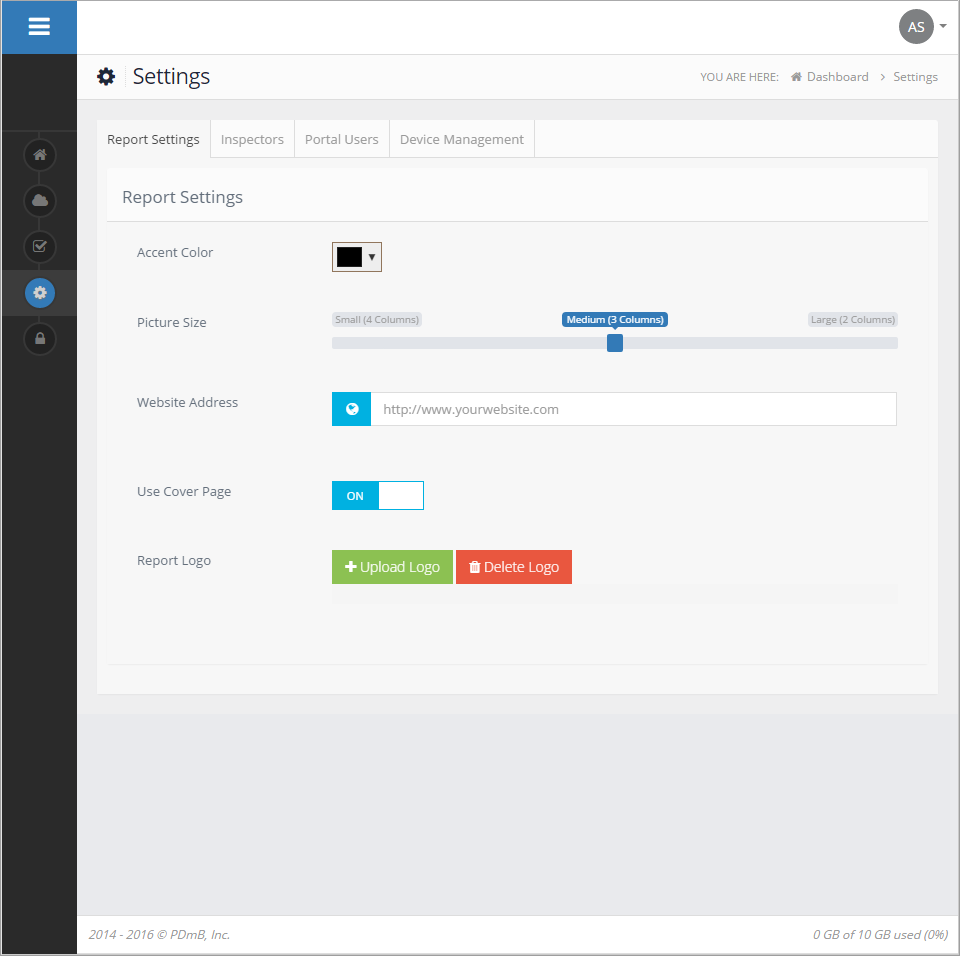
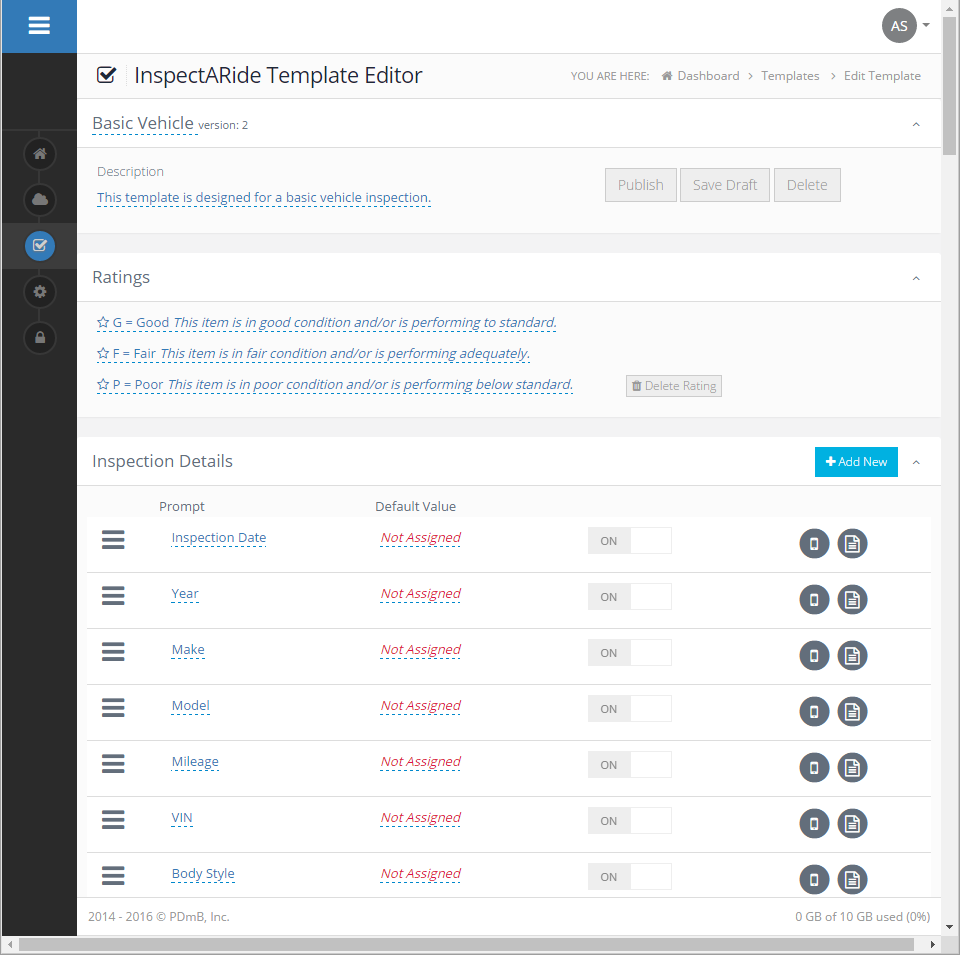
We’ve been working hard on updating the InspectARide portal for the past few months and the update is almost ready for release! We’re in the final stages of testing and can’t wait to get this in your hands. Here are a couple of sneak peek screenshots:

IAR-new-portal-ss3  IAR-new-portal-ss2


Posted on

Store Your Reports Online

When you do inspections you want to be able to store the reports. InspectARide makes this easy. After an inspection is complete you’re able to upload it to the cloud with the tap of a button for long-term storage. That’s right, all you have to do is tap a button and the program takes care of the rest!

With the cloud, you’re able to store your inspection reports and access them at any time. You can pull up previous inspections to review, print, email or do whatever you need to with them. You don’t have to worry about losing information if something happens to your computer since the information is online. This also allows you to access your reports from any device with a web browser.

You don’t need to be a computer expert or even know what ‘the cloud’ (basically just a place where you can store information online) is to be able to use and take advantage of its benefits.

Posted on

Adding Items to Dropdowns

You can quickly and easily add items to your note dropdown lists. This is a huge time saver as selecting something from a list is much faster than typing it out (or handwriting it if you’re still using paper) each time. Here are the steps for adding an item to the list:

  1. Start with an inspection open in the InspectARide app.
  2. Go to the ‘Inspection Points’ view by tapping on the second icon from the left of the view bar.
  3. Next, tap on the ‘Note’ that you want to add a dropdown to.
  4. Tap on ‘Edit’.
  5. This brings up the ‘Edit List’ screen. To add a new item to the dropdown list simply tap in the large entry box, type in the new list item, and then tap on ‘Add New’ and it will be added to the list.
You can add as many items as you want to a dropdown using these steps.
Posted on

How many templates should I have?

InspectARide lets you create your own checklists/templates and there is no limit to how many you can have. With that said, one question that gets asked is: How many should I have?

There isn’t a one size fits all answer to this as it will vary based on the situation. Sometimes it makes sense to have a single master template that you use for all of your inspections, and other times it’s better to create a handful of templates.

Having One Template

If you always inspect the same items no matter the situation, then having one template that you use each time may be your best bet. This will allow you to simplify the process and can even make it faster because it eliminates the need to think through which template to use. It also makes it easier for you to get to know your template inside and out which can make a big difference in speed.

Having Multiple Templates

If you do more than one type of inspection then you’ll definitely want more than one template. You will be much better off having a template setup for each type of inspection you do than trying to create a single template that may have lines or entire sections that don’t apply to each inspection it is being used for. Having lines/sections that don’t apply to a vehicle you’re inspecting in your template will either make it so that the inspection takes longer (since you’ll have to mark each of these as not applicable) or you’ll end up with a report that looks like it’s incomplete since not everything will be filled out.

Posted on

The Finish Inspection View

The InspectARide app has four main views that display different information. The last view is Finish Inspection which has a checkmark for the view’s icon.

inspectaride-finish-inspection-icon

This view gives you some helpful information and gives you several options. First, it will give you a breakdown of how many items you marked with what rating. This can be very helpful to see, especially if you have a very detailed checklist that you use. Below that is a breakdown of any information that you didn’t fill out which helps ensure you don’t ‘miss’ something on the checklist. For the options, you can check the box for ‘Inspection Complete’. This isn’t necessary but is a helpful way to flag whether or not an inspection is finished or not. The next two options are for ‘Upload’ and ‘PDF’. If you tap on ‘Upload’ it will upload your inspection to your cloud drive. If you tap on ‘PDF’ it will turn the inspection into a PDF and send an email to yourself with the PDF attached.

Posted on

Free Seven Day Trial

InspectARide has a free 7-day trial that gives you full access to the app and portal. The trial is the best way to see how the program works and how it can help you accomplish your inspection-related goals.

Sign up for the trial and give it a try! Use it on a couple of inspections and see how much faster it is than what you’re currently doing. Want faster inspections, no paper, and great-looking reports? You can make this happen to start today.

Sign up for the free trial today: https://www.inspectaride.com/register.